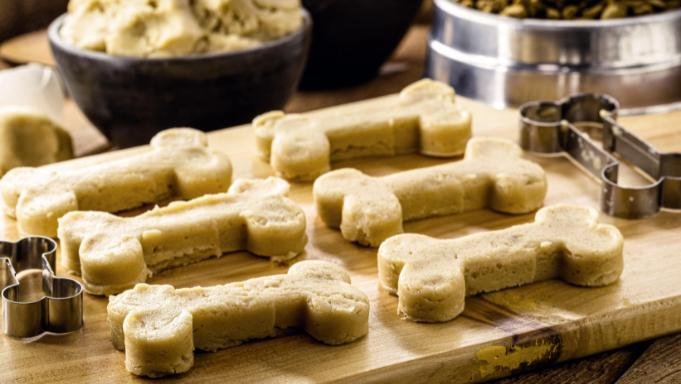
My dog has turned down $30 bags of “gourmet” treats.
But the second I pull these out of the oven, he’s sitting so fast you’d think I rang a bell.
Turns out the fanciest ingredient list isn’t what dogs actually want. They want peanut butter, banana, and something crunchy to destroy.
That’s exactly what this recipe is. Four ingredients, one bowl, and a treat that’s healthier than most of what’s sitting on pet store shelves. 🐾
Let’s get into it.
Why This Recipe Works
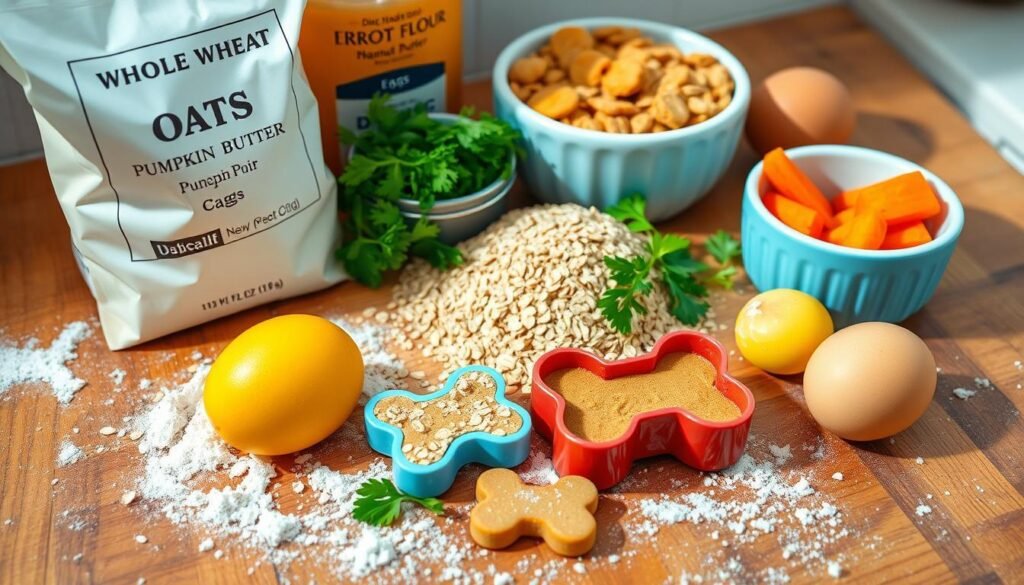
Most store-bought dog treats are packed with fillers, preservatives, and ingredients you can’t even pronounce.
These four ingredients are things you probably already have in your kitchen right now.
No weird additives. No mystery meat. Just real food your dog’s body actually knows what to do with.
And here’s the surprising part: oats are genuinely good for dogs. They’re packed with fiber and can help dogs with sensitive stomachs or wheat allergies.
What You’ll Need
Here’s everything going into the mixing bowl:
- 1 ripe banana (the riper, the sweeter and easier to mash)
- 1/4 cup natural peanut butter (unsweetened, no xylitol, ever)
- 1 large egg
- 1 cup rolled oats (quick oats work too)
That’s it. Four ingredients, zero fillers.
Tools You’ll Need
- Mixing bowl
- Fork or potato masher
- Baking sheet
- Parchment paper
- Small cookie scoop or spoon
- Oven
Pro Tips From My Kitchen
I’ve made these more times than I can count, so here’s what actually matters:
- Check your peanut butter label every single time. Some brands sneak xylitol in, and it’s toxic to dogs. Read it even if you’ve used the same jar before.
- Don’t skip the oven cooling step. Treats crisp up as they cool, not while they’re baking. Pulling them early gives you soft treats that go stale fast.
- Roll the dough thin. Thicker treats stay chewy in the middle. Thin means crunchy all the way through, which is what most dogs actually prefer.
- Use a fork to press small dots or lines into each treat before baking. It helps them bake evenly and honestly just looks more like a “real” treat.
- Make a double batch. These disappear fast, and the dough freezes beautifully if you want to bake fresh batches later.
How to Make Them
- Preheat your oven to 350°F and line a baking sheet with parchment paper.
- Mash the banana in a large bowl until smooth. A few small lumps are fine.
- Add the peanut butter and egg. Mix until fully combined.
- Stir in the oats a little at a time until you get a thick, slightly sticky dough.
- Scoop small amounts of dough and roll them into balls, then flatten with your palm or a fork.
- Space them evenly on the baking sheet, about an inch apart.
- Bake for 20-25 minutes, until the edges turn golden brown.
- Turn off the oven and let the treats sit inside for another 15-20 minutes. This is what makes them crunchy instead of soft.
- Cool completely on a wire rack before serving.
Substitutions and Variations
Dogs aren’t picky about consistency the way humans are, so there’s room to play here.
| Original | Swap | Why |
|---|---|---|
| Peanut butter | Pumpkin puree | Great for dogs with peanut sensitivities |
| Banana | Unsweetened applesauce | Slightly lower sugar option |
| Rolled oats | Oat flour | Finer texture, softer bite |
| Regular egg | Flax egg | Good for dogs avoiding eggs |
Want to switch things up even more? Try adding a pinch of cinnamon or a tablespoon of shredded carrot for extra nutrients.
Make Ahead Tips
This dough freezes really well.
Shape the treats, freeze them flat on a tray for an hour, then transfer to a freezer bag. When you’re ready to bake, just pop them straight from the freezer onto your baking sheet and add a few extra minutes to the bake time.
A Few Extra Details
For dogs with grain sensitivities: swap the oats for oat flour made from gluten-free oats, or use ground flaxseed instead.
Portion size matters. Treats should never be more than 10% of your dog’s daily calories. For a medium-sized dog, that’s roughly 2-3 small treats a day.
Time-saving tip: double the batch and freeze half the dough. Future you will be grateful during busy weeks.
Leftovers and Storage
These treats store easily, which is part of why I love making them.
- Counter: up to 3 days in an airtight container
- Fridge: up to 2 weeks
- Freezer: up to 3 months, baked or unbaked
If they lose some crunch after storing, a quick 5-minute reheat in the oven brings it right back.
FAQ
Can I give these to puppies? Yes, as long as your vet has already introduced solid treats and your puppy isn’t allergic to any of the ingredients.
Are these safe for dogs with allergies? Peanut butter and eggs are common allergens, so check with your vet first if your dog has a sensitive system.
Why did my treats turn out soft instead of crunchy? Usually it means they weren’t rolled thin enough, or they were pulled out before the oven-cooling step.
Can I use almond butter instead of peanut butter? Yes, as long as it’s plain and doesn’t contain xylitol or added sugar.
How long do these actually last once baked? About 3 days on the counter, but they rarely last that long in my house.
Wrapping Up
Four ingredients, one bowl, and a treat your dog will genuinely love more than the fancy bag from the store.
There’s something satisfying about making something this simple that gets this much tail-wagging in return.
Give this recipe a try, then come back and tell me how it went. I’d love to hear which substitutions you tried and how your pup reacted.